
Upgrade Dada Mail from a Simple Scripts Installation
Upgrade Dada Mail from a Mojo Marketplace/Simple Scripts Installation
Before Going Forward:
Simple Scripts/Mojo Marketplace (henceforth, only reffered to as, "Mojo Marketplace") is a great way to get started with Dada Mail, as their easy installer makes it painless to begin using Dada Mail.
Many people who start with a Mojo Marketplace installation of Dada Mail will then want to upgrade to Pro Dada, which allows them to manage more than three lists, and 1,000 subscribers, per mailing list. Below is the instructions on how to do so. Pro Dada can be purchased here:
https://dadamailproject.com/purchase/pro.html
Mojo Marketplace has, in its history of offering Dada Mail, sometimes changed the method that they install Dada Mail. Since starting to offer Dada Mail, their installs are less and less different from the install directions we give, and thus, it's much easier to upgrade.
These docs were written on 7/12/13, and go over installing v6.4.1 of Dada Mail, and upgrading to v6.5.0 of Pro Dada.
Installing Dada Mail on the Mojo Marketplace.
Before we upgrade, we're going to quickly go over how we've installed Dada Mail, using Mojo Marketplace. This demo is on a cPanel-based hosting account on Bluehost.
Please feel free to skip this section, if you're familiar with how Mojo Marketplace installs Dada Mail.
First, find the Simple Scripts button in your cPanel,

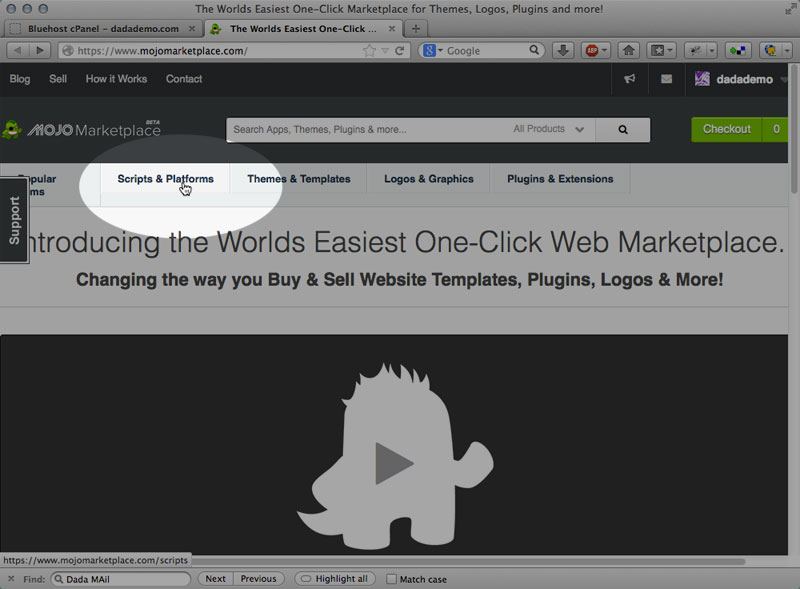
Click the, Simple Scripts/Mojo Marketplace button to enter the Mojo Marketplace. This should open a new window/tab in your browser.
On the menu at the top, click on the link entitled, Scripts & Platforms,
When the page has refreshed, click on, Dada Mail (it's under Mailing Lists).
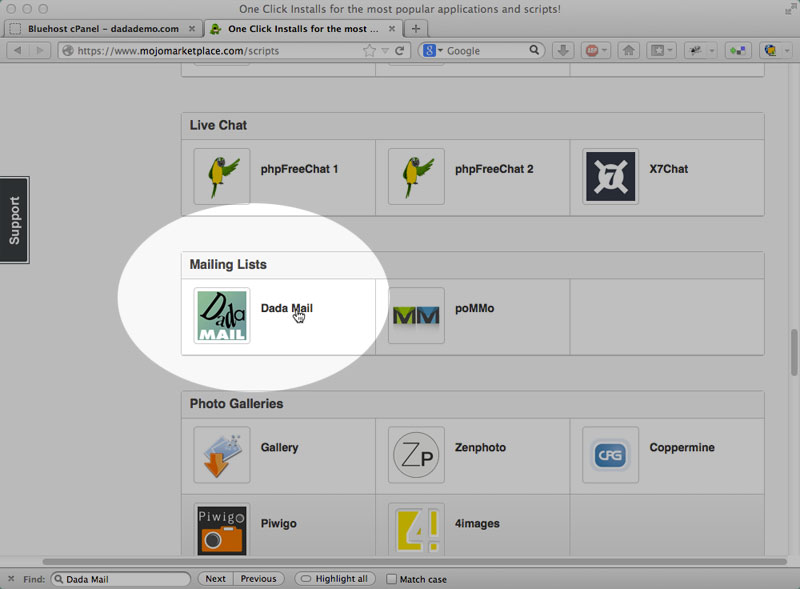
That'll popup the modal menu to configure Dada Mail for your account.
Click the button labeled, Start,
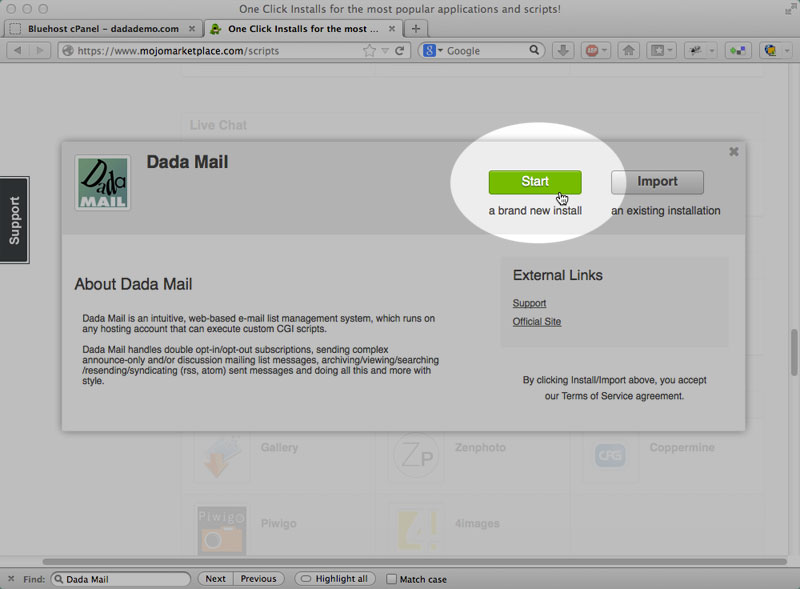
and when the modal window refreshes, pick a directory to install Dada Mail under. Thankfully this installer will install the full, dada directory under whatever you pick, which makes upgrading to your own install way easy.
I'm going to use the directory, mojomarketplace as my own directory, just to make things obvious. Once you've enter in the directory to use, click the button labeled, Check Domain.

If everything checks out, Accept the Terms and Conditions, and click the button labeled, Install Now,
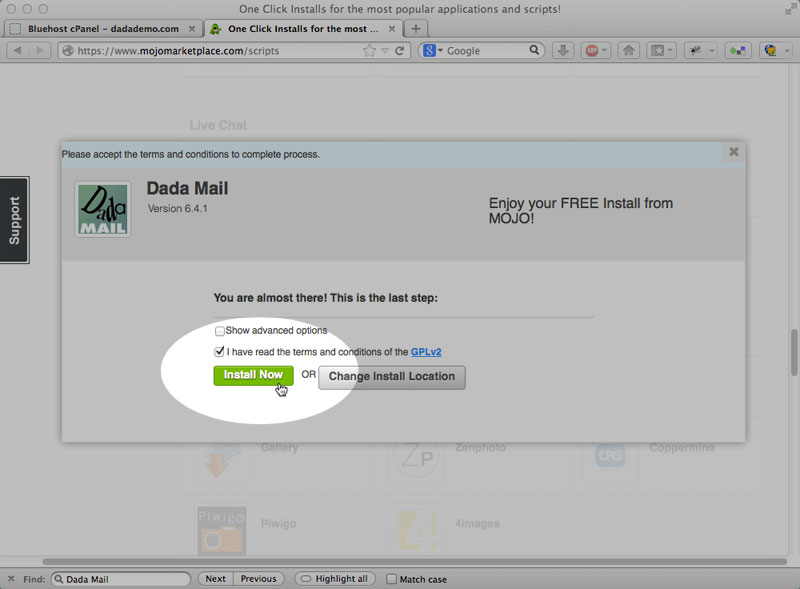
The installer takes a few seconds to do its job, but should come back with a screen saying everything's all set, and allow you to start working with your fancy, new Dada Mail.
All set! And that's how you install Dada Mail using Mojo Marketplace.
Upgrading your Mojo Marketplace to a Self-Installed Dada Mail-Pro Dada
Decouple your Dada Mail install from Mojo Marketplace
The first step you want to take before upgrading your Mojo Marketplace installation of Dada Mail is to decouple your Dada Mail, from Mojo Marketplace. This is done within the Mojo Marketplace.
Once again, enter into Mojo Marketplace, and click on Scripts and Platforms. Click on the button labeld, View My Installs.
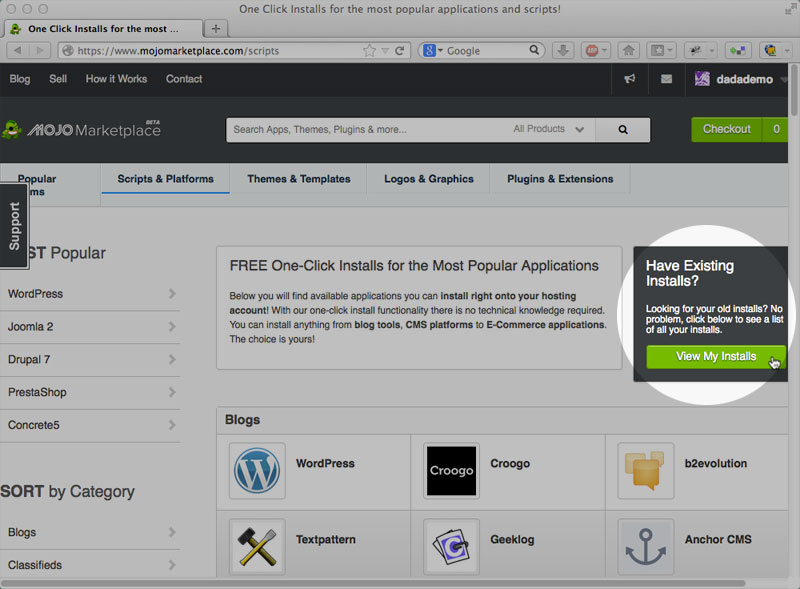
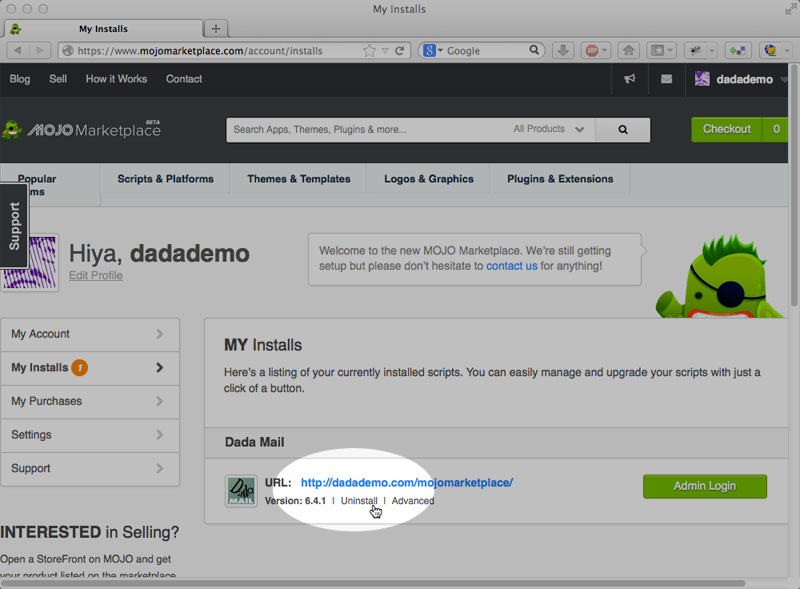
The screen should refresh and show all your current Mojo Marketplace installations, including your Dada Mail.
Under Dada Mail, click on the link labeled, Uninstall (as scary as that sounds, this somewhat mislabled link will not uninstall your Dada Mail, when clicked!)
A modal window will appear, giving you a few, again - slightly confusing options.
One of these options is to, remove Dada Mail, from your list of installation applications. This is what we want to do:
Click the button labeled, Remove From List (Option #2), and then confirm this removal.
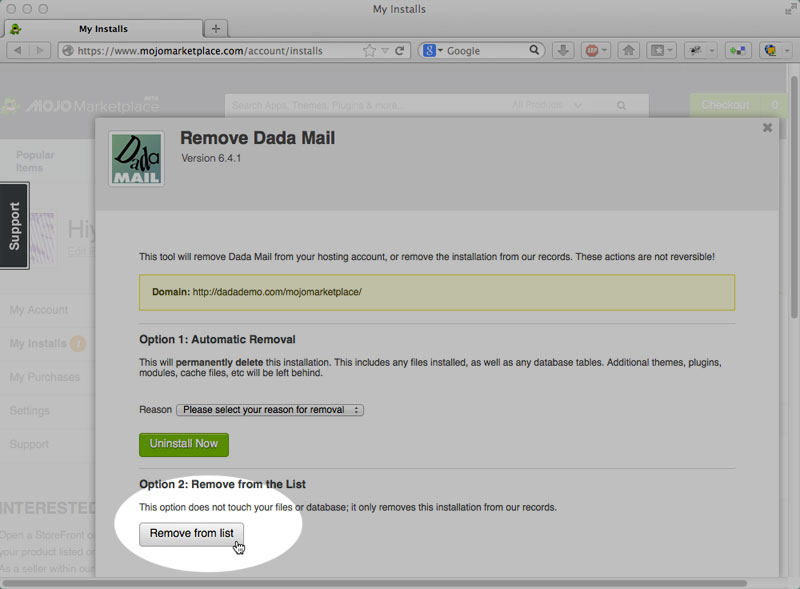
This option will leave your installation of Dada Mail completely alone, yet stop Mojo Marketplace from administrating it.
Once that's completed, you can start administrating the intallation of your Dada Mail, yourself.
Self-Install Dada Mail/Pro Dada
You'll want to now find the installation directory used by Simple Script/Mojo Marketplace. In our example, we installed Dada Mail via the Mojo Marketplace at this URL:
http://dadademo.com/mojomarketplace
mojomarketplace is our installation directory. If we peak inside this directory, using an FTP program (Transmit, in this case), or using the File Manager, provided with cPanel, we'll see that within this diretory is another directory named, dada - and THAT's Dada Mail, installed on your account.

From here, all we need to do is follow the regular, Upgrade Dada Mail directions,
https://dadamailproject.com/d/upgrade_dada_mail.pod.html
Here's the basic steps: (See the full docs if you have more questions)
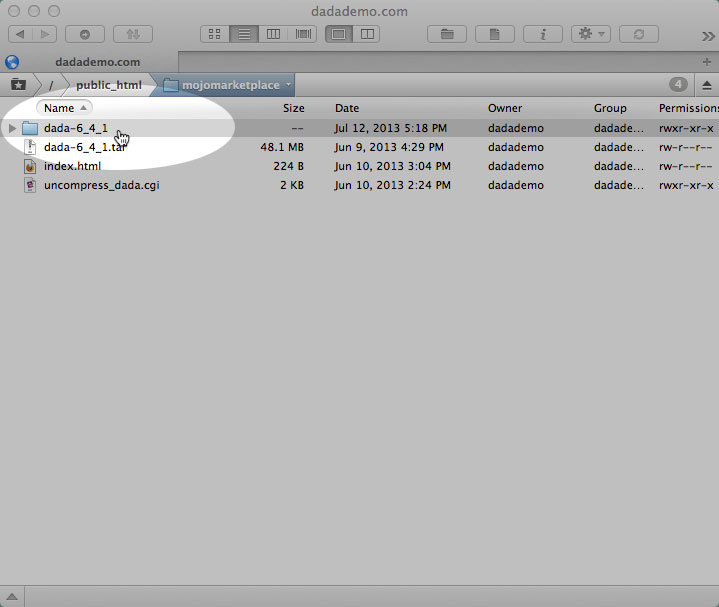
Rename the, "dada" Directory: I'm going to rename this directory, dada-6_4_1 to reflect what version of Dada Mail was installed by Mojo Marketplace,
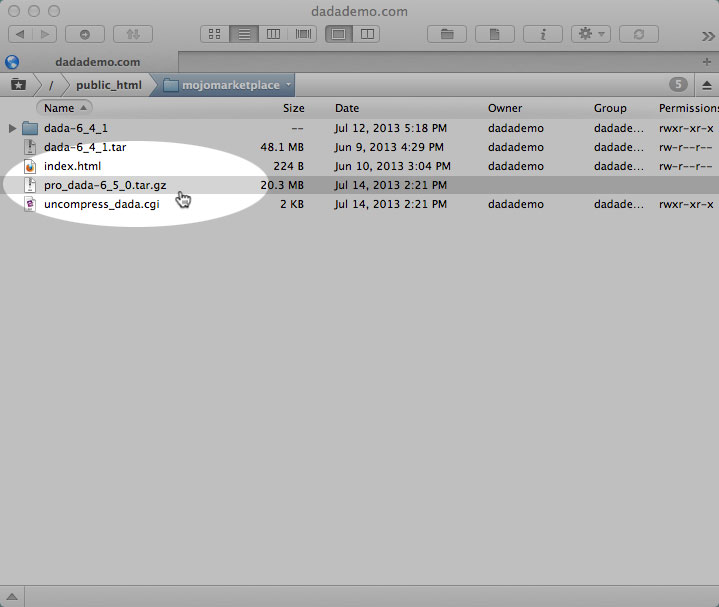
Upload the Dada Mail distro, as well as the, uncompress_dada.cgi helper script,
in this example, we're upgrading to v6.5.0 of Pro Dada, so the distro is named, pro_dada-6_5_0.tar.gz. It's possible there's already a copy of the uncompress_dada.cgi script in this directory, you'll still need to put up a specific copy, for this exact version of Pro Dada. Pro Dada copies of the distro and this helper script can be found at the Pro Dada subscribers-only part of the Dada Mail support site:
https://dadamailproject.com/pro_dada
Change the permission of the, uncompress_dada.cgi script to, "755": this allows this script to be executed, and the script itself handles a whole bunch of things for us, so we don't have to.
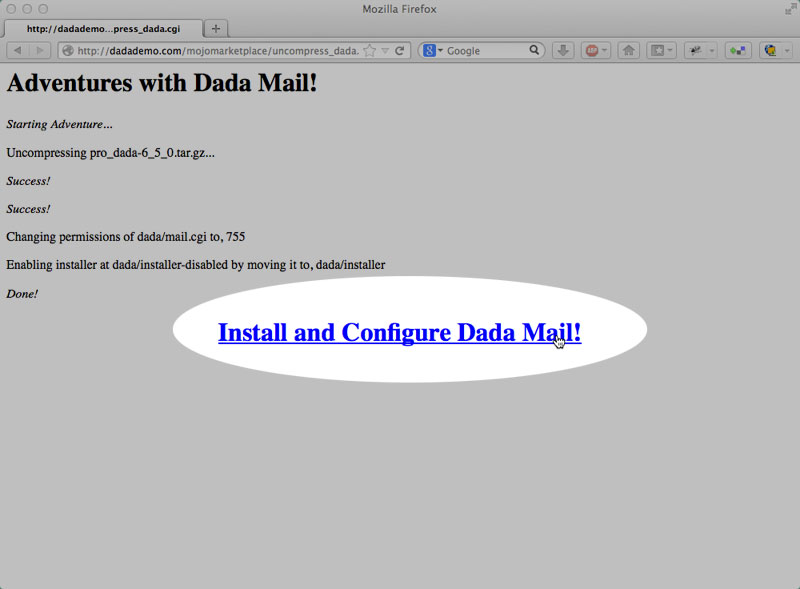
Visit the, "uncompress_dada.cgi" script in your web browser
Since our original install was at:
http://dadademo.com/mojomarketplace
The address of the fresh copy of the uncompress_dada.cgi would be at:
http://dadademo.com/mojomarketplace/uncompress_dada.cgi
Simply visit this URL in your web browser to have this script unroll this distro, and set things up. Click on the large link on the bottom to start up the included Dada Mail Installer!
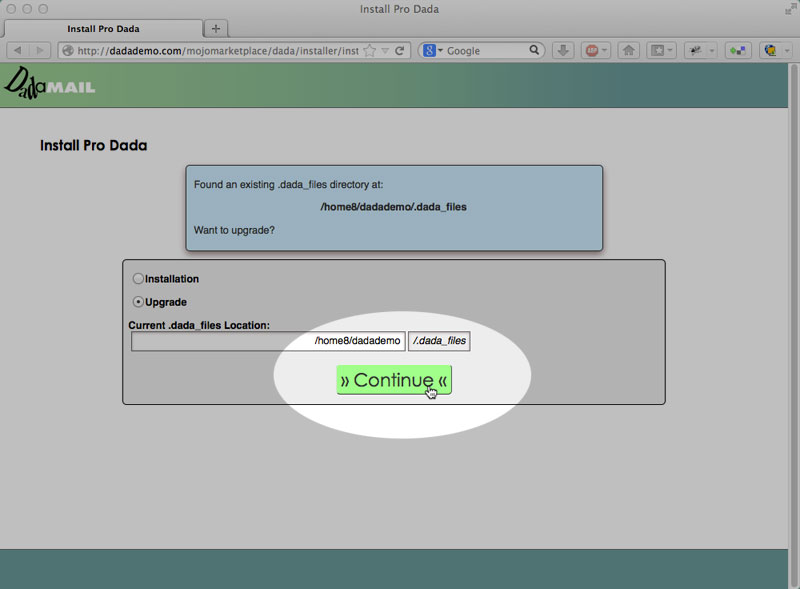
Once in the installer, you will want to choose, Upgrade, and hopefully, the path to your current .dada_files directory will be filled out. Click on the button labeled, Continue to configure your new copy of Dada Mail/Pro Dada,
What's fantastic about moving from a Mojo Marketplace installation of Dada Mail and your own self-installed copy of Dada Mail/Pro Dada, is that there's nothing you will now need to reconfigure - all the values presented to you are just fine! If you're happy with how everything looks, simple click on the button labeled, Configure Dada Mail/Pro Dada! at the bottom of the screen.
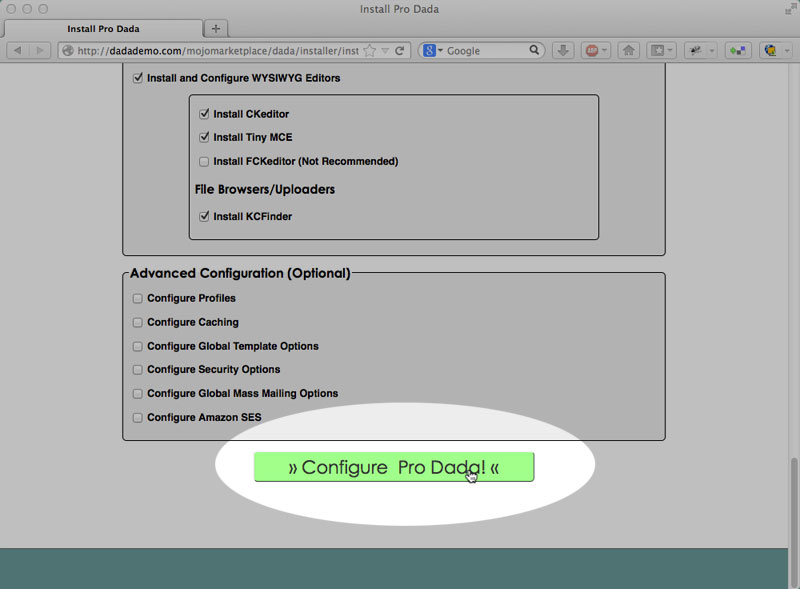
Pro Dada has many advanced configuration options above this button that Dada Mail does not have, and which you may want to play around with. A complete walk-through of the many additional, advanced options is covered here:
https://dadamailproject.com/d/install_dada_mail-advanced_configuration.pod.html
Click on the button labeled, Move the, 'dada/installer' Directory, Disable the, 'install.cgi' script, and then the button labeled, Start working Dada Mail/Pro Dada!.
Once the screen is refreshed, you've successfully self-installed your own copy of Dada Mail/Pro Dada, starting with a Mojo Marketplace installation of Pro Dada. Good work!